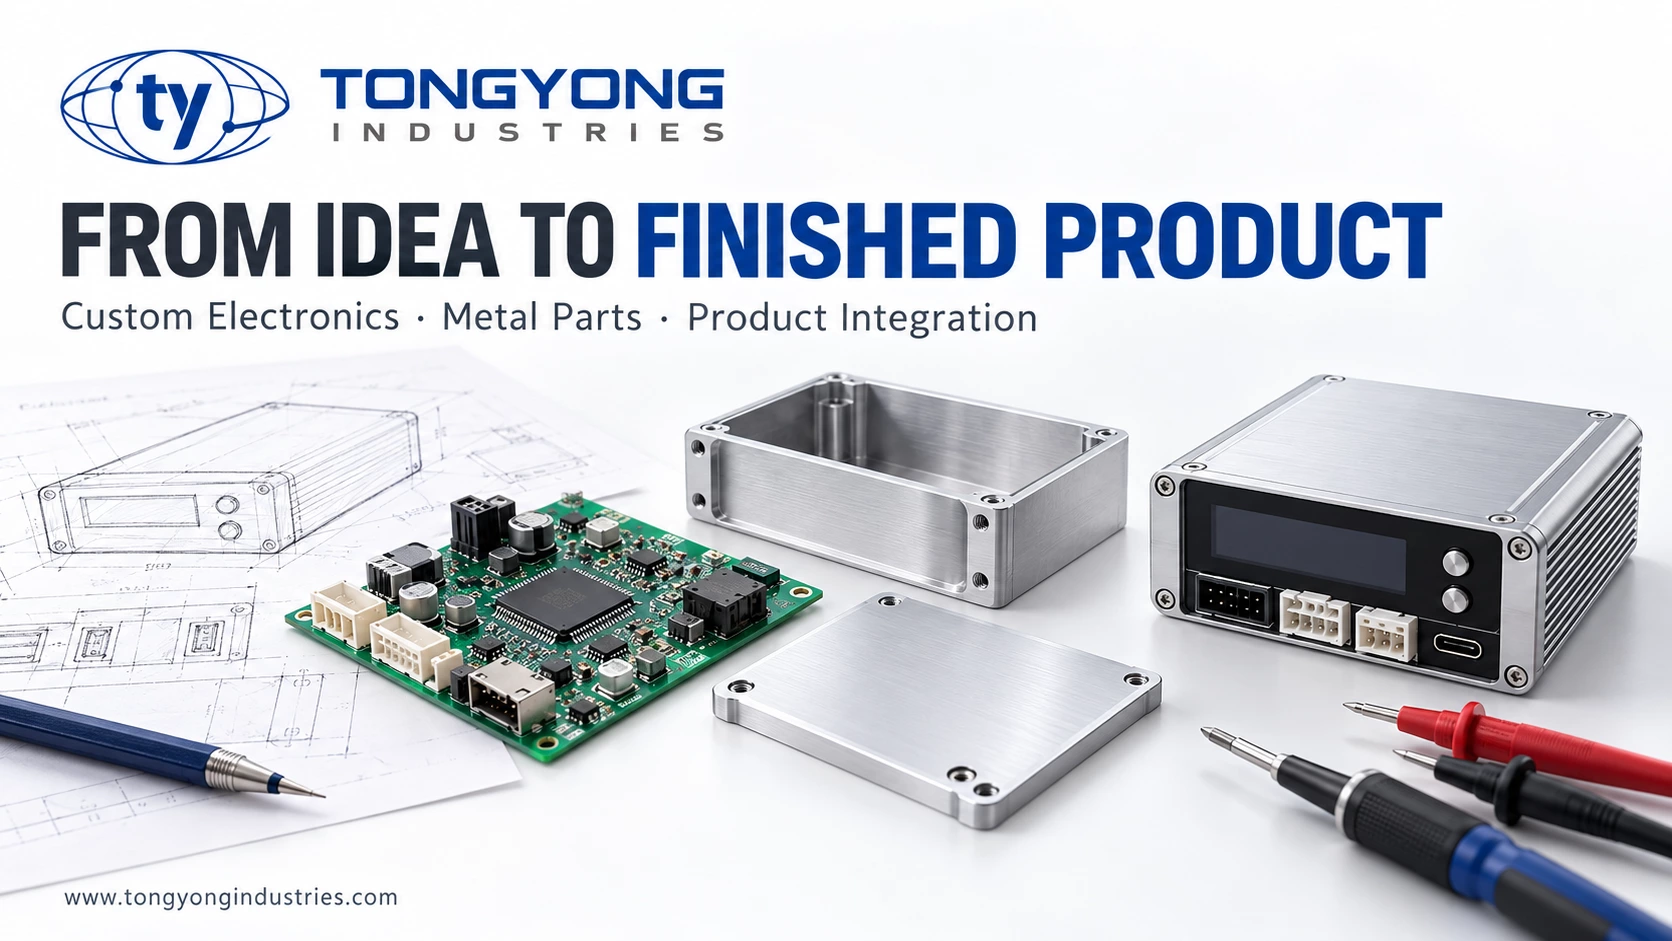
A working circuit board is an important milestone, but it is only one part of a complete electronic product. The enclosure must fit, connectors must remain accessible, wiring must be practical to assemble, and the finished unit must meet agreed performance requirements.
For businesses developing a custom device, these decisions work best when they are considered together. This guide explains seven practical stages that connect an initial idea with a product ready for manufacturing and delivery. The stages can overlap, and testing may lead the team back to an earlier design decision.
1. Define the product and the project scope
Start with the application: what should the product do, who will use it, and where will it operate? A project may begin with a concept, a reference sample, existing drawings, or a design that needs manufacturing support.
Useful starting information includes:
- Required functions and the intended user experience.
- Product size, mounting method, and appearance preferences.
- Power source, interfaces, and any connectivity requirements.
- Operating environment and intended sales markets.
- Prototype quantities, expected production volumes, budget, and delivery goals.
Agree who is responsible for electronics, firmware, mechanical design, testing, and approvals. If some requirements are still open, record the assumptions that need to be checked before committing to tooling or production.
2. Plan how the complete product will work
Turn the requirements into an initial system plan. Identify the main electronic functions, power arrangement, user controls, displays, cables, and structural components. Decide what can use standard parts and what needs to be developed specifically for the project.
This is also the time to consider component availability and the intended assembly method. A compact layout may look attractive, but it still needs space for connectors, fasteners, wiring, and inspection. Record the main technical uncertainties and plan how to evaluate them.
3. Coordinate the electronics, enclosure, and mechanical parts
Detailed development should connect the PCB with the physical product. Confirm board dimensions, mounting points, connector openings, button alignment, cable routing, and access for assembly. Consider heat management and material selection where they affect the application.
For example, changing a connector position can affect the PCB, enclosure opening, and cable length at the same time. Reviewing these interfaces together helps identify conflicts while the design is still easier to adjust.
Depending on the project, an enclosure may use plastic, machined metal, sheet metal, or another suitable process. The choice should reflect operating conditions, appearance, production volume, and cost—not appearance alone.
4. Build prototypes and integrate product functions
Use prototypes to answer specific questions before scaling. An early sample may check a circuit, demonstrate a control function, or evaluate enclosure fit. A later integrated sample can bring the electronics, housing, wiring, and mechanical parts together.
Where firmware is involved, confirm the required behavior and the version used for testing. Firmware development or integration responsibilities should be agreed for the project. App or cloud functions, if needed, should also have a clearly defined scope.
Keep a record of what each prototype demonstrates, what remains unresolved, and which changes are needed for the next revision.
5. Test against agreed requirements
A sample that switches on has not necessarily met all product requirements. Define acceptance criteria and test the relevant functions, interfaces, power behavior, assembly fit, and operating conditions.
Depending on the intended use, the verification plan may also address temperature, vibration, repeated operation, or other application-specific conditions. Confirm applicable regulatory and market requirements early enough to allow design changes; development checks do not replace any required formal assessment.
Document the results and close outstanding issues before approving the design for the next stage.
6. Prepare the design for repeatable production
Manufacturing preparation turns an approved sample into a controlled production package. Review the design for manufacturability and assembly, then confirm the bill of materials, drawings, production files, approved samples, and test instructions.
Agree component substitution rules, critical dimensions, surface finishes, labeling, packaging, and revision control. For an integrated product, the assembly sequence and access for testing deserve particular attention.
A pilot batch can help evaluate assembly consistency, test coverage, and production issues before increasing quantities. The appropriate batch size and approval process depend on project complexity and risk.
7. Coordinate manufacturing, final checks, and delivery
Production brings PCB assembly, mechanical parts, purchased components, wiring, and final assembly into one coordinated schedule. Inspection and testing should follow the approved requirements, with records retained as agreed.
Before shipment, confirm product identification, accessories, protective packaging, quantities, and delivery documents. Feedback from production and field use can then inform controlled improvements to future revisions.
One coordinated approach—from components to complete products
Tongyong Industries supports global B2B projects through electronics manufacturing, metal parts manufacturing, box build and product integration, and engineering support. These connected capabilities help customers move from requirement review and prototyping toward coordinated production.
Whether you need a PCBA, a custom enclosure, a mechanical subassembly, or a complete product, the first step is to define the work your project requires. Development responsibilities, quantities, testing needs, and delivery expectations can then be reviewed together.
Frequently asked questions
Can I start without complete drawings?
Yes. An initial discussion can start with a product idea, functional description, or reference sample. Additional specifications and engineering work may be needed before a production quotation can be confirmed.
Can a project cover both electronics and the enclosure?
Yes. A project scope can combine electronics, housings, metal parts, wiring, and final assembly. The required development and manufacturing activities should be confirmed during project review.
How long does development take?
Timing depends on design maturity, complexity, component availability, tooling, prototype revisions, and verification requirements. A useful schedule follows a review of the actual project rather than a fixed promise for every product.
Discuss your custom electronics project
Share your drawings, samples, or product requirements with Tongyong Industries. Include the intended application, key functions, expected quantities, and current development stage so the team can review manufacturing feasibility and suggest the next steps.
Submit your project enquiry or email info@tongyongindustries.com.